Sewing a patch on a backpack seems simple—until it isn’t. You might attempt an iron-on patch, but it may not stick. Or your needle could struggle with the thick backpack fabric. The thread breaks, the patch looks crooked, or it won’t attach properly. You might worry about damaging your backpack or ruining the spot. Don’t stress—this guide shows you how to sew a patch correctly. We’ll cover tools, iron-on tips, and stitching methods to make it last. Let’s fix it once and for all!
1. Why Sew a Patch on a Backpack?
Sewing a patch on your backpack is not for decoration. This is an easy way to fix, adapt, or style your bag. You can cover a tear with a patch or show your style with customized patches. This requires very little effort, but there is a big difference.
Fix rips or damage
Backpacks handle a lot – school, travel, hiking, and use in everyday life. Over time, they can tear or wear out. Instead of buying a new one, sew a patch on the damaged area. This budget-friendly solution helps your backpack last a long time. If the rip is large or close to the edge, use a strong thread to attach it. Use sewing needles designed for thick fabric. This way, the patch will stay in place after washing or heavy use.
Add style or a personal touch
Many people enjoy adding embroidered patches. People use them to show their style, share travel tales, or back their favorite teams and causes. You can even use iron-on patch options for a quick stick before sewing. These backpack patches don’t look good—they make your bag unique. You can add custom patches, pockets, sides, or straps to create a personalized look. Stitching patches onto a backpack can be fun or meaningful. Each patch adds a story to your bag. When you put a patch on, ensure it’s well-aligned. Sewing patches on thick fabric is easy. With the right tools, you can use a machine or sew by hand.
2. Tools and Materials You’ll Need
Before you start sewing a patch on a backpack, you need the right tools. Having the proper materials makes it easier to put a patch on neatly and securely in place.
Basic Sewing Supplies
To sew backpack patches, you will need some basics:
- Scissors
- Strong thread
- Sharp needles
- A thimble
Fingbar shapes your finger as you push the needle through the cloth. It works well with thick or layered materials. You can also use a pin or fabric glue to hold the patch in place before sewing. This keeps the patch steady while you sew. If you use an ironing pad, you need an iron. It helps to be better at sewing for extra grip before heating it.
Choosing the Right Thread and Needle
Choosing the right thread and needle depends on your backpack material. If you have canvas or nylon, use heavy-duty polyester thread. It won’t snap easily. A thicker needle is better for piercing tough backpack fabric. This is important near the edge of the patch, where clothing often lifts. To prevent it from pulling, tie a safe knot at the end of the thread. When you’re done, you need another knot at the end to lock your masks. Make sure your patch type matches the fabric. Custom and embroidered patches stick well to canvas. Smooth bonding patches work best on nylon surfaces. The right tools will help you attach a patch to your backpack with ease. They’ll last long and look great, no matter what you choose.
3. Iron-On Patch vs Sew-On Patch: Which One to Choose?
When adding a patch to your bag, you might wonder which method to choose. Should you iron it on or stitch it? Let’s look at both options. This will help you decide what works best for your fabric and patch type.
What is an iron-on patch?
An iron-on patch has adhesive on the back. Use an iron to heat it. The heat melts the glue, allowing it to stick to the fabric. It’s a fast and easy way to put your patches in place without sewing. To do this right, place the patch on a heat-resistant surface and press with a hot iron for 20–30 seconds. Make sure the side of the patch with glue faces the fabric. The heat will melt the glue and help it stick onto my backpack or any fabric you use. It works well for decorating or when you’re in a hurry.
Why Sew-On Patches Are More Durable?
Sewn patches last longer than iron-on ones. If you want to personalize your backpack and avoid peeling, learn to sew. Sewing locks the patch around the edges. This helps it stay secure during washing and wearing. It also lets you control where to place it and how strongly it holds. Sew-on patches suit heavy bags, rough fabric, or well-used backpacks. To keep the patch in place, you can iron it on first and then stitch the edges for extra strength.
4. How to Prepare the Backpack and Patch Area?
Prepare your backpack well before adding any patches. This is key for strong, clean results. No matter the type of patch, the area must be clean and flat. This helps it stick or sew well. First, wipe the surface with a damp cloth. Then, let it dry completely. This removes dirt that can stop the patch from sticking well. Next, put your patch where you want it. You can use sewing pins to hold it in place. This keeps it steady while you work. If using glue or iron, press the patch flat to remove wrinkles. For a chest-on-patch, adjust the edges before sewing. Some prefer hand-stitched needles for better control. Others choose a sewing machine because it works faster. If you want to go with glue or heat bonding, make sure the patch is easy to attach and holds up well on the fabric. If you’re not sewing, there are still options. You can place a patch on a backpack without any thread at all by using strong fabric glue or sticky backing. Many people fix a backpack without sewing. But for a stronghold, don’t skip the stitching.
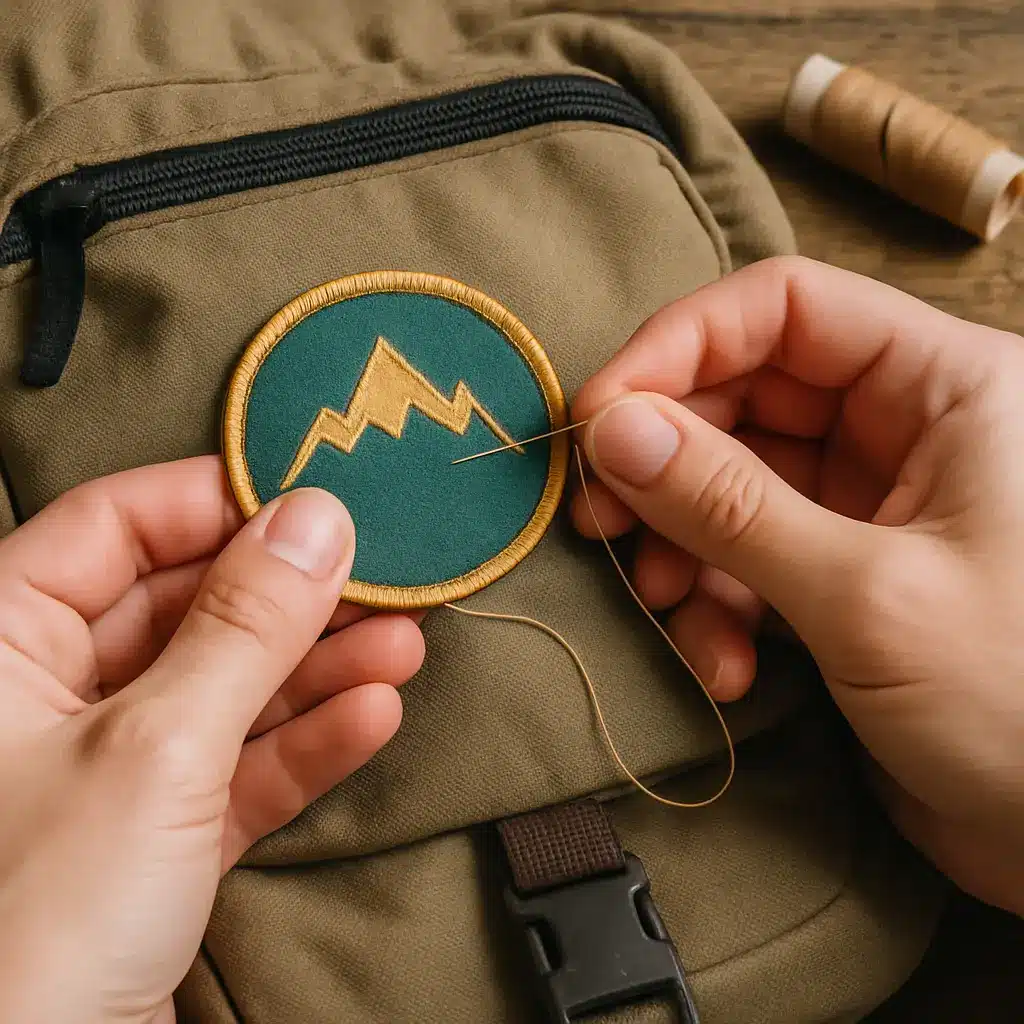
5. How to Sew a Patch on a Backpack: Step-by-Step Guide
When your patch is ready and your tools are set, it’s time to sew. Repair damage or add fun patches to your bag with these simple steps.
Step 1: Thread the Needle
Start by getting your needle and thread. Pick a strong, thick thread that matches your patch or backpack. Cut about 18 inches of it. Then, thread it through the needle. Finally, tie a double knot at the end to keep it from slipping through the fabric.
Step 2: Place and Pin the Patch
Place the patch where you want it. If using canvas, ensure it is flat and smooth. Use pins to hold it down or lightly glue the back to prevent shifting. This keeps the patch steady and helps you make even stitches.
Step 3: Start stitching carefully
Start sewing around the patch. Begin from inside the bag to hide the knot. Use a simple running or whip stitch along the patch edges. If the fabric is thick, use a thimble to push the needle through. If you are careful, you can also push the needle with your fingers. Take time to ensure the masks are clean and fitted properly.
Step 4: Secure the thread properly
Once you finish stitching the full border, it’s time to tie off. Flip the fabric inside out. Make a few small stitches to secure it. Then tie a double knot close to the fabric to lock the thread. Trim the extra thread for a clean finish. This wraps up step 4 and keeps your patch strong and secure. If you use an iron-on patch, you can apply heat again with an iron. The heat from the iron helps seal it better, especially if it lifts while sewing. Be careful not to burn the patch or the bag when using an iron.
6. Tips for Strong and Neat Stitches
Sewing a patch on your backpack is simple. To make it last, use strong and neat stitches. Here are two key tips to help you succeed every time.
Use a Strong Thread
When you learn how to sew, picking the right thread is key. Choose a strong thread that matches your backpack’s fabric. This works for both nylon backpacks and canvas materials. This helps ensure the patch stays put even after lots of use. Suppose you’re using an iron-on patch. First, heat the patch with an iron to help it stick. Then, sew around it for extra hold. It will be easier to sew a sharp hand seam with needles through thick fabric. If the fabric is hard, use a thimble to push the needle. You can also use light pressure with your fingers.
Keep stitches even and tight
Ensure that you space your stitches evenly around the top of the patch. This creates a tidy appearance and keeps the patch in place. Use sewing pins to secure the patch before you stitch. This keeps it in place. Pull the thread tight, but not too tight, to avoid puckering. When you finish, tie off the thread securely, like in step 5. This keeps your patch from coming loose. With these tips, your cool patches will look great and stay attached for a long time.
7. How to Fix Common Patch Problems
Sometimes, even after working hard, the patch does not hold up well, or the seam becomes difficult. Here are easy fixes for common issues to consider when adding a patch to your backpack.
The patch won’t stick or stay
If your patch to apply won’t stick, start by cleaning the area well. Dirt or oil can stop the patch from holding. If you’re using an iron-on patch, be sure to apply enough heat from the iron for the right time. Sometimes, pressing longer and harder helps the adhesive melt and stick better. For extra strength, sew around the edges after the fabric has been ironed. This will keep the patch in place even after many washes or rough use.
The needle won’t go through fabric
Thick backpacks or materials like canvas can be tough to sew through. If your needle gets stuck, try using a sharp needle specifically designed for heavy fabric. Good options include hand-sewing needles for canvas. Using a thimble to help push makes a big difference. It protects your finger and lets you help push the needle through thick layers without pain. Take your time and push the needle straight for easier stitching.
The patch looks uneven or loose
If your patch looks crooked or loose, first remove it carefully. Use sewing pins to secure the patch firmly before you start again. Make sure the patch lies flat and even. When sewing, keep your stitches close and tight around the edges. This keeps the patch secure and looking neat. If needed, press it again with the iron to smooth the top of the patch.
Final Thoughts
Sewing a patch on a backpack might seem hard at first. But with the right tools and some patience, it’s easy. You can fix a rip or add style with a cool patch. Now you know how to pick the right patch, prep the area, and sew it step by step. Choose the right patch type. Use a strong thread and go slowly for neat results. Sewing pins, a thimble, and the right needle can help make the process smoother. Even with an iron-on patch, adding some stitches around the edge helps it last longer. Take your time and follow the steps. Soon, you’ll fix or customize your backpack like a pro!
Frequently Asked Questions
Can you sew patches on backpacks?
Yes, you can sew patches onto backpacks with a needle and thread or a sewing machine. This method is strong and durable for securely attaching patches.
How to patch a hole in a backpack?
To patch a hole in a backpack, start by cleaning the area. Then, place the patch over the hole. You can sew or iron it on. Stitching around the edges adds extra strength.
Where should I place the patch on the backpack?
Anywhere that’s clean, flat, and not too thick. Avoid seams and zippers for easier sewing.