How to Put Patches on a Nylon Backpack? A nylon backpack can be made unique by adding patches, but doing so can be tricky. When using iron-on adhesive or fabric glue, many people have difficulty sticking the patch properly. You might worry about applying too much heat. It could damage the nylon fabric. You should also ensure the patch stays secure after washing. While you can sew it on, ironing is usually the best method if you get the heat right. This guide will help you avoid common mistakes and maintain your patch. We’ll explain how to prepare the fabric, apply heat, and even use thread for added security. Whether your patch is nylon, polyester, or another fabric, we can guide you to great results.
Why Adding a Patch to Your Nylon Backpack Is a Great Idea
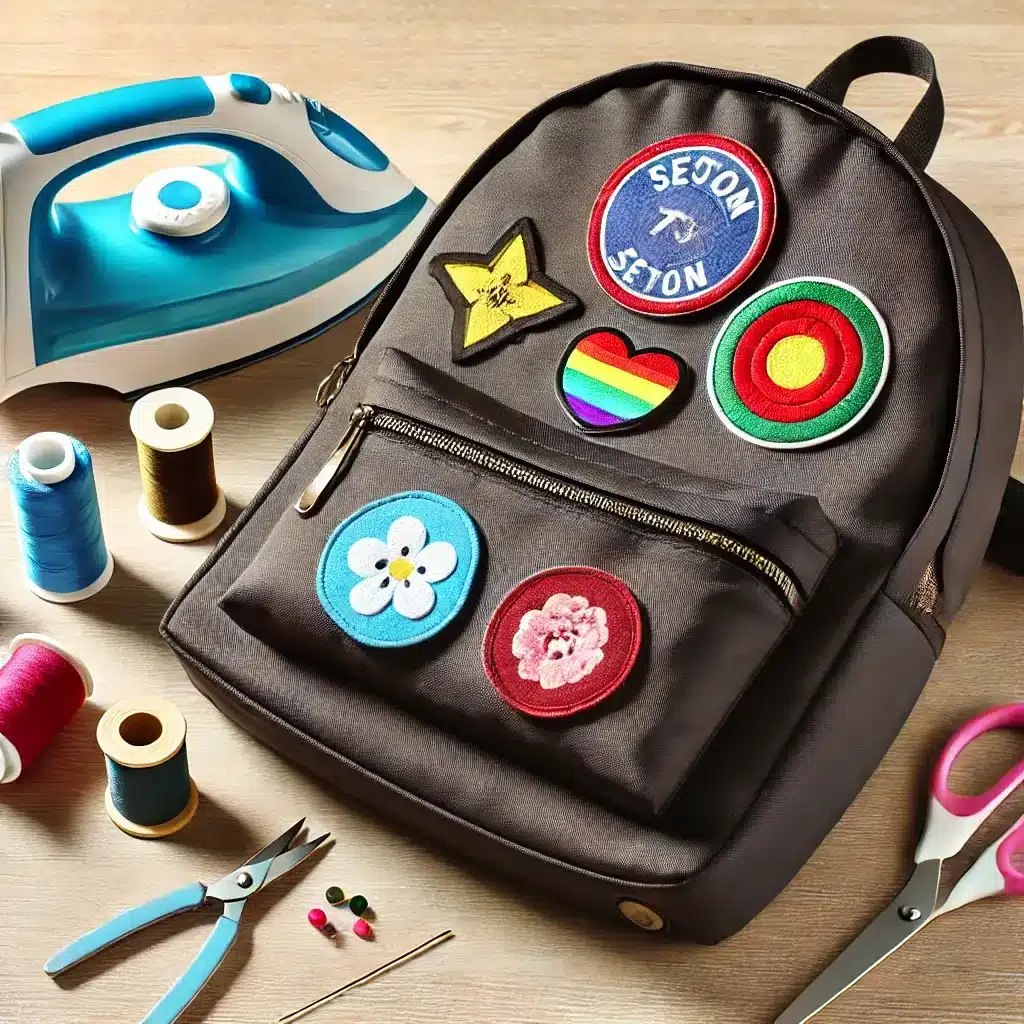
You can personalize your backpack by patching it up. Patches can help. They can be hidden with a tear, reveal a hobby, or add some flair to your clothes. These patches can be either iron-on for quick use or sew-on patches for a tighter hold. When using an iron-on patch, ensure you use the correct heat so that the nylon does not melt. You can also apply fabric glue for added strength. It’s best for edges that need extra bonding. A customizable backpack can be so different, and in fact, more special because of the personal touch. Let’s go over the factors to consider when finding the perfect patch for your nylon backpack:
| Factor | Considerations |
| Attachment Method | Choose between iron-on patches for quick application or sew-on patches for extra durability and a long-lasting bond. |
| Material Compatibility | Ensure the patch is suitable for nylon to avoid damaging the fabric or the patch not adhering properly. |
| Design & Size | Pick a patch design and size that reflects your personality and fits well on the surface of your backpack. |
| Durability | Choose between iron-on patches for quick application or sew-on patches for extra durability and a long-lasting bond. |
How to Attach a Patch to Your Nylon Backpack?
Sewing a patch to your nylon backpack is one thing that’s a quick, easy, enjoyable way to express who you are. You can fix a hole or give it a fresh look. If you want a quick fix, use an iron-on patch. For extra durability, use a sew-on patch. Both are easy to apply. Here’s an easy guide to help you attach a patch to your nylon backpack.
Step 1: Choose the Right Patch and Location
First, choose a patch you like. Then, decide where to place it in your backpack. The spot should be clean and flat for the best result. If you use an iron-on patch, ensure it’s for nylon. Iron-on patches are quick and easy. Sew-on patches hold better and have a longer lifespan.
Step 2: Ironing on the Patch (for Iron-On Patches)
Ready to use an iron-on patch? Just follow these easy steps:
- Set your iron to medium heat. Make sure it’s dry, without any steam
- Place the patch on the backpack, and cover it with a thin cloth.
- Press the iron down for 30 seconds, applying even pressure to make sure the patch bonds well to the fabric.
- Afterward, let the patch cool for a minute and check if it’s firmly stuck. If needed, you can apply the iron again for another 15-20 seconds.
Step 3: Sewing on the Patch (for Sew-On Patches)
- Position the patch on your backpack and use a pin to keep it securely in place.
- Take a needle and sturdy thread to stitch around the patch.
- Once you’ve stitched around the patch, tie the thread securely at the end to keep everything in place.
- If you want, you can apply a little fabric glue along the edges before sewing to make the attachment even stronger.
Step 4: Reinforcing with Fabric Glue
To ensure a better hold, add a bit of fabric glue around the patch’s edges before you iron or sew it on. Just squeeze a thin line of glue along the edges, then attach the patch using your favorite method. Fabric glue forms a very strong bond with nylon fabric. It helps prevent it from loosening over time, especially in high-action areas.
Step 5: Let It Dry and Check the Patch
Once you’ve attached the patch, give it some time to dry if you use fabric glue. It’s crucial to ensure everything feels secure before using your backpack. Lightly tug on the patch to see if it’s still firmly in place. If it feels loose, apply more heat with the iron or reinforce the stitching to make sure it stays put.
Guide to Fix Common Mistakes When Applying an Iron-on Patch to Your Nylon Backpack
Putting a patch on a nylon backpack can be tough. It is all right to mess up sometimes. So, if your iron-on patches are not sticking or peeling, relax. Here is the guide to fix common mistakes when attaching a patch to your nylon backpack. You can easily secure them. This guide will help you fix common errors. It is covered using an iron, sewing machine, or fabric glue on the rucksack. You’ll get a secure, long-lasting hold.
Patch Won’t Stick Properly
One common issue is when the patch won’t stay attached after ironing. This is because nylon is heat resistant. It doesn’t bond well with adhesives.
Fix:
- Apply the glue along the edges to reinforce the bond.
- Use a sewing machine to stitch around the patch for durability.
- If ironing, press firmly for 30 seconds with a protective cloth over the patch.
Using Too Much Heat Can Damage the Backpack
Since nylon is sensitive to heat, applying too much heat can burn or melt the fabric.
Fix:
- Always place a protective cloth between the patch and the iron.
- Use a low heat setting and avoid holding the iron in one spot for too long.
- If damage occurs, attach patches using fabric glue directly onto the backpack instead.
Patch Peeling Off After Washing
Washing a backpack can cause the patch to loosen or fall off if it isn’t properly attached.
Fix:
- Reattach the patch with fabric glue or by sewing it for added security.
- Wash the rucksack inside out and let it air dry instead of using a dryer.
Wrinkled or Uneven Patch
A wrinkled patch or lifted edges can make your backpack look messy.
Fix:
- Smooth the patch with your fingers before pressing it down.
- If using fabric glue, press down evenly and let it dry completely.
- If needed, carefully reheat the patch using an iron on low heat.
Loose Stitching on Sewn Patches
You need stronger reinforcement if you attach the patches using a sewing machine, but the stitches come undone.
Fix:
- Pick a strong thread and go for a double stitch to ensure it lasts.
- Tie the ends of your stitches with sturdy knots to avoid any unraveling.
How to Care for Your Nylon Backpack?

Caring for your pack and patches is crucial for long-lasting durability. Iron-on patches, fabric glue, and stitches need upkeep. It keeps them secure and prevents them from getting loose. This instruction guide will help you maintain your backpack without damaging the fabric or the patch.
Cleaning Your Backpack Without Damaging the Patch
Washing a backpack without sewing can be tricky, as water and agitation may weaken the adhesive or knot used for stitching.
Recommended Tips
- Using a damp pencil eraser or cloth, try to spot clean off dirt without damaging the patch.
- Use mild detergent and do not soak the pack, as too much moisture causes peeling.
- If using a washing machine, place the backpack inside a pillowcase for protective coverage.
Preventing Patch Peeling or Loosening
To ensure your patch stays attached, reinforce it periodically.
Recommended Methods
- If edges start to lift, press with an iron for approximately 30 seconds on a low setting.
- Secure the corner with safety pins temporarily before reinforcing it with a needle and thread.
- If using glue, apply a thin layer to the back and press with a heavy object until dry.
Avoiding Fabric Wear and Tear
To help your pack withstand everyday use, be mindful of how you store and handle it.
Recommended Practices:
- Store your backpack in one of the hostel lockers or storage areas to save unnecessary friction.
- Avoid placing heavy objects directly on the patch, which may tear or peel off.
- If there is fraying, use a thimble and sew around the edges.
Ensuring Long-Lasting Stitching
Stitching can loosen over time, so reinforcing your work is essential.
Recommended Steps
- Grab a sturdy needle and some thread to sew around the patch, making it tougher.
- At the end of each stitch, tie a secure knot to keep everything in place.
- Iron over the patch on an ironing board to set the stitches in place.
Conclusion
Attaching a patch to your backpack, especially if it’s made of nylon, requires the right technique to ensure durability. Whether you purchase iron-on patches or opt for sewing, each method has its own resistance to wear and tear. If you want to add an emblem, it’s best to choose a heat-resistant method like dry heat or use steam for a secure bond. Brands like Osprey design gear with weight distribution in mind, so placement matters. A foolproof approach is to gently push the patch onto the surface and reinforce it if needed. Always follow the privacy policy and terms of service when using adhesives. A well-placed patch not only adds style but also makes your backpack more handy and reliable for long-term use.
Frequently Asked Questions
How to attach patches to a nylon backpack?
You can iron them, sew them, or use fabric glue to attach patches to a nylon backpack for a secure and long-lasting hold.
What is the best glue for patches on nylon backpacks?
The best glue for patches on nylon backpacks is fabric glue, such as Beacon Fabri-Tac or Gorilla Waterproof Fabric Glue, for an incredibly strong, flexible bond.
Will fabric glue hold patches?
Yes, fabric glue can hold patches on nylon backpacks securely, especially if applied correctly and allowed to dry fully. It provides a flexible, durable bond for long-term use.